
A Look into Angular Directives

Angular Course
Angular Directives: An Overview
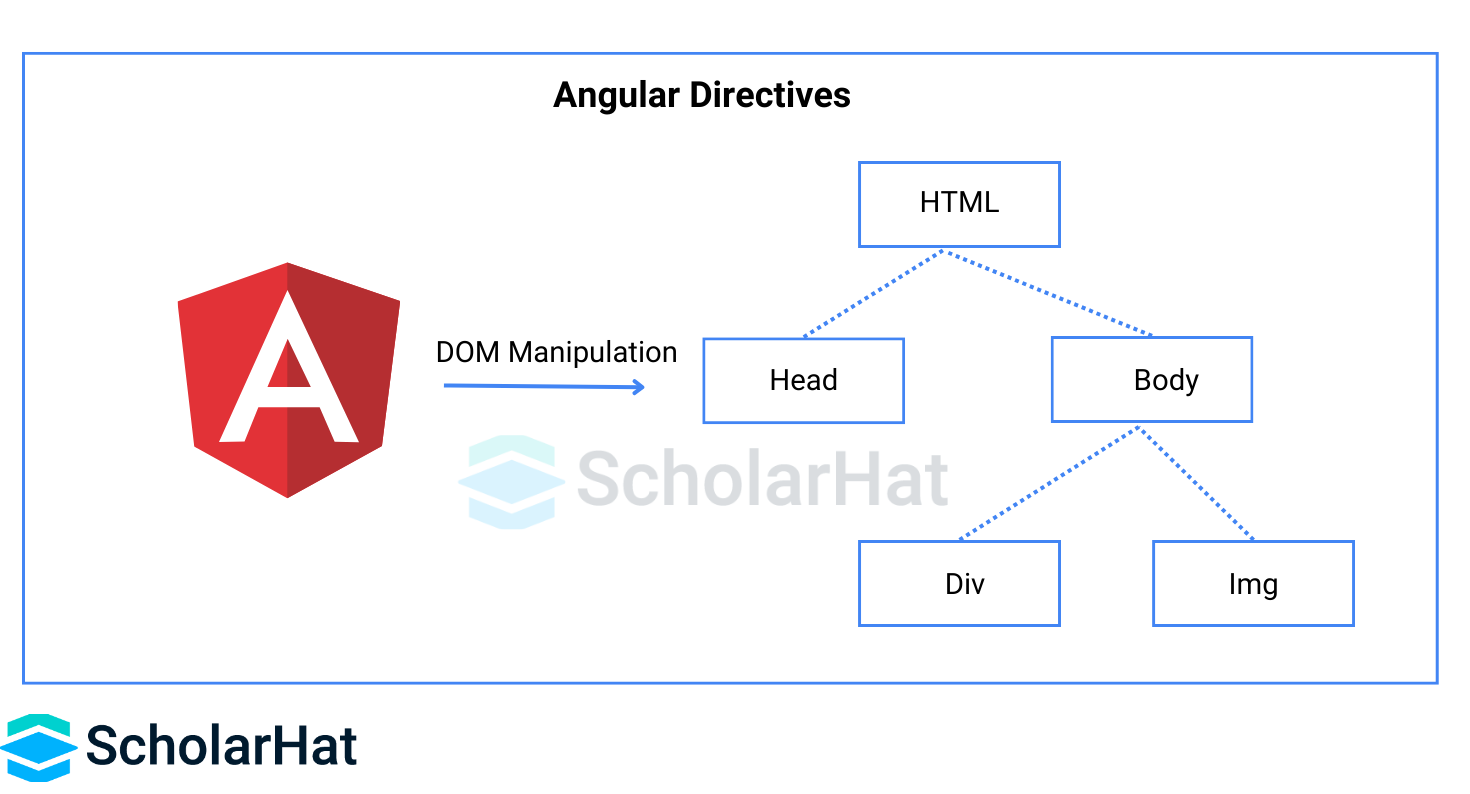
Angular directives are DOM elements that instruct Angular's HTML compiler to perform a specific action on that element or its children. They are a very valuable feature for extending HTML syntax and creating reusable components with dynamic behavior. Understanding directives is critical for anyone starting an Angular Tutorial or pursuing an Angular Certification Course, as they are an integral aspect of Angular development.
What are Directives in Angular?
Angular directives are essential elements of Angular apps. They are special markup tokens that instruct the Angular framework to act on a DOM element. Directives can be used to do a range of things, including altering the DOM, adding behavior to elements, and controlling the layout of a web application. They allow developers to reuse angular components and expand HTML syntax to construct dynamic and interactive online apps.
Types of Directives in Angular
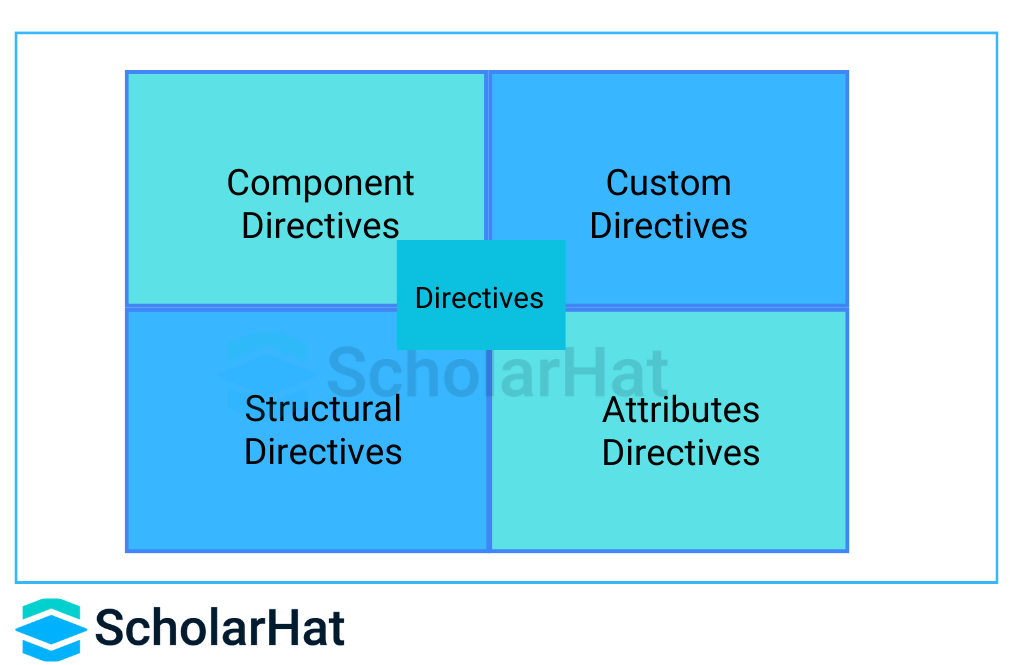
There are 4 Types of Directives in Angular:
- Component Directives
- Attribute Directives
- Structural Directives
- Custom Directives
You can see that here we explained the different types of directives in Angular with examples.
Components Directives
The directive with a template specification and this type of directive is the most common directive type in Angular. Typically, a Component is a directive with a template. @Component decorator extends the @Directive decorator with template-oriented features. A component class is declared using the @Component decorator. @Component decorator contains metadata about the component i.e. selector, templateURL, styleUrls, etc.
Example of Component Directive
import {Component} from '@angular/core'

@Component({
 selector: 'app-root',
 templateUrl: './app.component.html',
 styleUrls: ['./app.component.css']
})

export class AppComponent{}
This code imports the Component class from the Angular core library and creates an Angular component called AppComponent. The @Component decorator specifies details about the component, such as its HTML template and styles.
Attribute Directive
The directive that changes the appearance or behavior of an element, component, or other directives. Attribute directives are used to change the appearance or behavior of an existing DOM element. ngStyle and ngClass are the commonly used examples for attribute directives. Exploring attribute directives is an essential part of Angular JS training.
NgStyle
This is used to configure multiple inline styles for HTML elements.
Example for NgStyle
import { Component } from '@angular/core';
@Component({
selector: 'Satya-App',
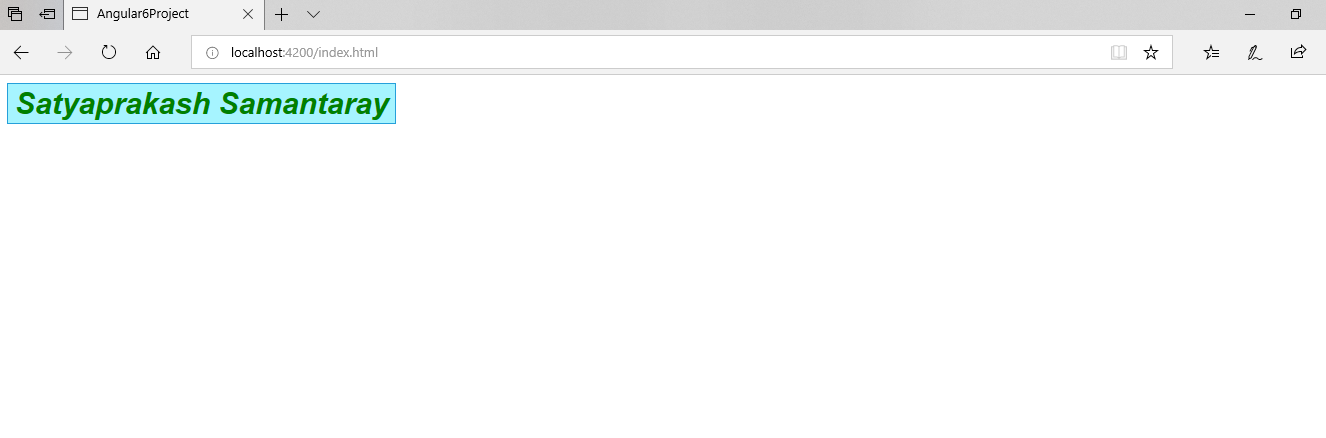
template: `<button style='color:green' [ngStyle]="MyStyle()">Satyaprakash Samantaray</button>`
})
export class AppComponent {
isBold: boolean = true;
fontSize: number = 30;
isItalic: boolean = true;
MyStyle() {
let mystyles = {
'font-weight': this.isBold ? 'bold' : 'normal',
'font-style': this.isItalic ? 'italic' : 'normal',
'font-size.px': this.fontSize
};
return mystyles;
}
}
Here I added a button control in the template part with a style sheet named MyStyle(). This MyStyle CSS method is defined as below.
 MyStyle() {
 let mystyles = {
 'font-weight': this.isBold ? 'bold' : 'normal',
 'font-style': this.isItalic ? 'italic' : 'normal',
 'font-size.px': this.fontSize
 };

 return mystyles;
Output
NgClass
Example for NgClass
 import { Component } from '@angular/core';

 @Component({
 selector: 'Satya-App',
 template: `<button class='colorClass' [ngClass]='applyClasses()'>Satyaprakash Samantaray</button>`,
 styles: [`.boldClass{
 font-weight:bold;
 font-size : 30px;
 }

 .italicsClass{
 font-style:italic;
 }

 .colorClass{
 color:Red;
 }`]
 })
 export class AppComponent {
 applyBoldClass: boolean = true;
 applyItalicsClass: boolean = true;

 applyClasses() {
 let classes = {
 boldClass: this.applyBoldClass,
 italicsClass: this.applyItalicsClass
 };

 return classes;
 }
 }
In this NgClass we are using the class attribute of the HTML element to apply styles.
template: `<button class='colorClass' [ngClass]='applyClasses()'>Satyaprakash Samantaray</button>`,
Output

Structural Directive
The directive changes the DOM layout by adding or removing the DOM elements. Structural directives are used to alter the layout by adding, removing, and replacing elements in the DOM. Asterisk (*) is used when these directives are used with the HTML elements. *ngIf, *ngFor, *ngSwitch are some commonly used structural directives in angular.
NgIf
It is used to create or remove a part of the DOM tree depending on a condition.
Example for ngIf
import { Component } from '@angular/core';
@Component({
selector: 'Satya-App',
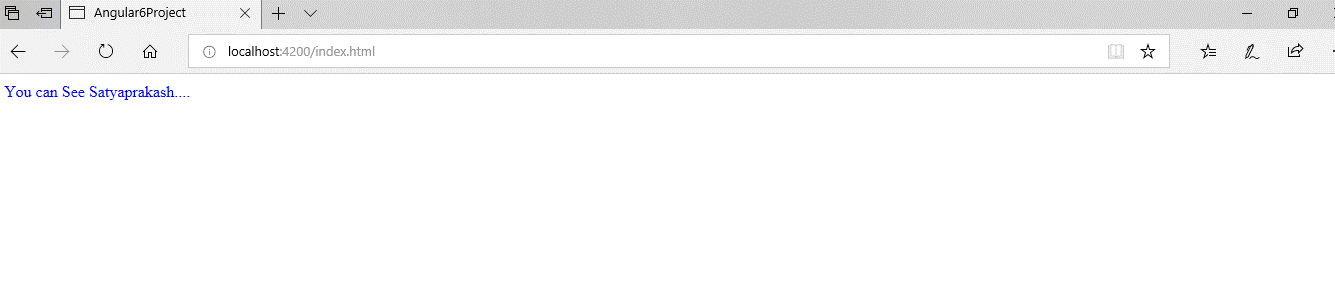
template: `<div style='color:blue' *ngIf="true">You can See Satyaprakash....</div>`
})
export class AppComponent {
} Here If ngif= true So, the text will be visible on the web page.
template: `<div style='color:blue' *ngIf="true">You can See Satyaprakash....</div>`
Output
NgFor
Example for ngFor: TS Code
 import { Component } from '@angular/core';

 @Component({
 selector: 'Satya-App',
 templateUrl: './app.component.html',
 })
 export class AppComponent {
 employees: any[] = [
 {
 code: '1001', name: 'Satya', gender: 'Male',
 annualSalary: 5500, dateOfBirth: '25/6/1988'
 },
 {
 code: '1002', name: 'Mohit', gender: 'Male',
 annualSalary: 5700.95, dateOfBirth: '9/6/1982'
 },
 {
 code: '1003', name: 'Rohit', gender: 'Male',
 annualSalary: 5900, dateOfBirth: '12/8/1979'
 },
 {
 code: '1004', name: 'Satyaprakash Samantaray', gender: 'Female',
 annualSalary: 6500.826, dateOfBirth: '14/10/1980'
 },
 ];
 }
I have created a class named employees and inserted values into its corresponding properties.
 employees: any[] = [
 {
 code: '1001', name: 'Satya', gender: 'Male',
 annualSalary: 5500, dateOfBirth: '25/6/1988'
 },
Example for ngFor: HTML Code
 <!DOCTYPE html>
 <html>
 <head>
 <title></title>
 <meta charset="utf-8" />
 <style>
 table {
 font-family: arial, sans-serif;
 border-collapse: collapse;
 width: 100%;
 }

 td, th {
 border: 1px solid #dddddd;
 text-align: left;
 padding: 8px;
 }

 tr:nth-child(even) {
 background-color: #dddddd;
 }
 </style>
 </head>
 <body>
 <table align="center" border="1" cellpadding="4" cellspacing="4">
 <thead>
 <tr>
 <th style="background-color: Yellow;color: blue">Code</th>
 <th style="background-color: Yellow;color: blue">Name</th>
 <th style="background-color: Yellow;color: blue">Gender</th>
 <th style="background-color: Yellow;color: blue">Annual Salary</th>
 <th style="background-color: Yellow;color: blue">Date of Birth</th>
 </tr>
 </thead>
 <tbody>
 <tr *ngFor='let employee of employees'>
 <td>{{employee.code}}</td>
 <td>{{employee.name}}</td>
 <td>{{employee.gender}}</td>
 <td>{{employee.annualSalary}}</td>
 <td>{{employee.dateOfBirth}}</td>
 </tr>
 <tr *ngIf="!employees || employees.length==0">
 <td colspan="5">
 No employees to show in the page....
 </td>
 </tr>
 </tbody>
 </table>
 </body>
 </html>
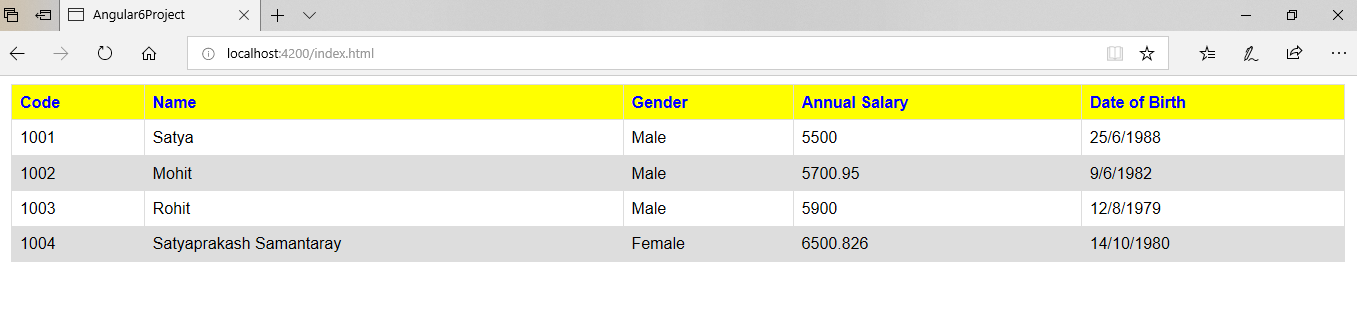
Here NgFor is used to display a list of items using repetitive loops that are data of the employee's class.
 <tr *ngFor='let employee of employees'>
 <td>{{employee.code}}</td>
 <td>{{employee.name}}</td>
 <td>{{employee.gender}}</td>
 <td>{{employee.annualSalary}}</td>
 <td>{{employee.dateOfBirth}}</td>
 </tr>
Output
NgSwitch
app.component.ts with NgSwitch implementation
 import { Component } from '@angular/core';

 @Component({
 selector: 'Satya-App',
 template: `<h2>{{title}}</h2>
 <p *ngIf="showElement">Show Element</p>
 <div [ngSwitch]="inpvalue">
 <p style='color:blue' *ngSwitchCase="1">You have selected M S Dhoni</p>
 <p style='color:blue' *ngSwitchCase="2">You have selected Sachin Tendulkar</p>
 <p style='color:blue' *ngSwitchCase="3">You have selected Satyaprakash Samantaray</p>
 <p style='color:red' *ngSwitchDefault>Sorry! Invalid selection....</p>
 </div>`
 })
 export class AppComponent {

 inpvalue: number = 3;
 }
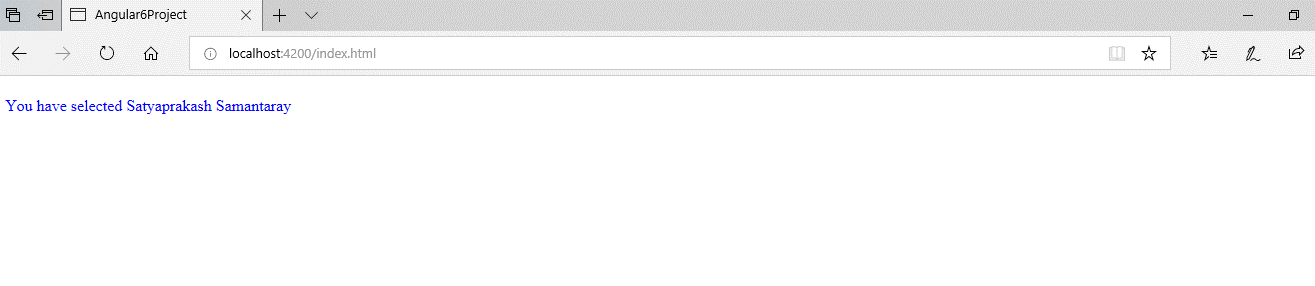
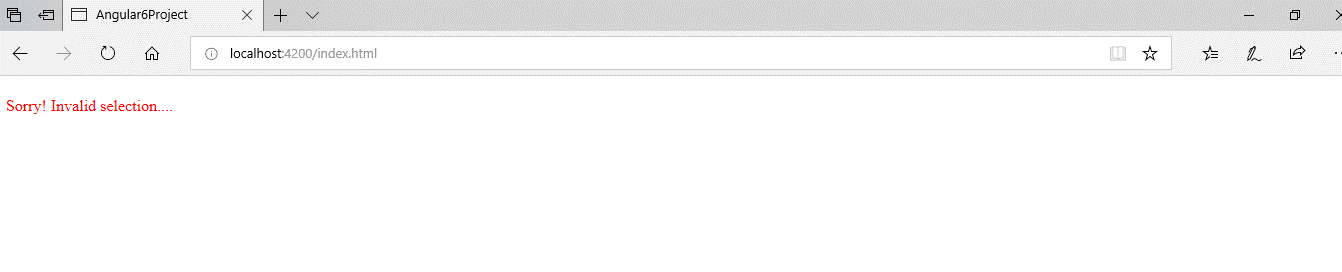
You can display one element from among several possible elements, based on a switch condition. Angular puts only the selected element into the DOM. Here we are using ngswitchcase to apply switch case and ngswitchdefault is for invalid selection. Using the switch directive we can show output by passing the value of the pvalue property in the AppComponent class.
Output
For valid selection >>
For Invalid selection >>
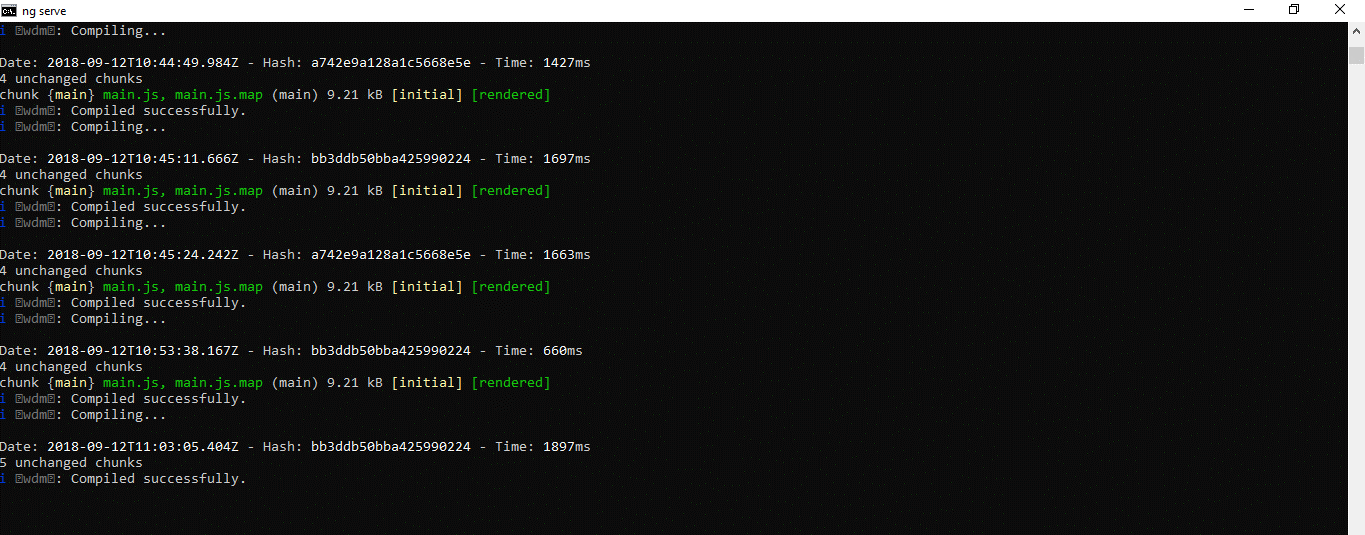
You can check the code compilation status in the command prompt during a change in code using Visual Studio.
Custom Attribute Directive
Custom directives can also be created if any of the above directives do not solve our purpose for the requirement. Custom attribute directives can be created by using @Directive decorator. Custom attribute directives can be used to modify the background color, and text information of an HTML element, and that process is called a host element. To change the UI look angular provides an ElementRef class that can directly access DOM.
Creating a Custom Directive
Let's create a folder under an app called directives. Under directives create a file called red.directive.ts as given below:
 import { Directive, ElementRef } from '@angular/core';

 @Directive({
 selector: '[ColorRed]'
 })
 export class MyCustomDirective {
 constructor(elRef: ElementRef) {
 elRef.nativeElement.style.color = 'darkred';
 }
 }
Make a directive named as myRed directive. We can use it with HTML elements such as <p> and <div>, the text color within that element will be red. The @Directive is used as an angular directive to retrieve directive configuration metadata. To use our custom directive in our angular project follow the below code to set up in the application module.
 import { BrowserModule } from '@angular/platform-browser';
 import { NgModule } from '@angular/core';

 import { AppComponent } from './app.component';
 import { MyRedDirective } from './directives/red.directive';

 @NgModule({
 declarations: [
 AppComponent,
 MyCustomDirective
 ],
 imports: [
 BrowserModule
 ],
 providers: [],
 bootstrap: [AppComponent]
 })
 export class AppModule { }
 import { Component } from '@angular/core';

 @Component({
 selector: 'Satya-App',
 templateUrl: './app.component.html'
 })
 export class AppComponent {
 txtsize = '25px';
 colors = ['red', 'blue', 'orange'];
 myColor = '';
 }
<!DOCTYPE html>
<html>
<head>
<title></title>
<meta charset="utf-8" />
<style>
table {
font-family: arial, sans-serif;
border-collapse: collapse;
width: 100%;
}
td, th {
border: 1px solid #dddddd;
text-align: left;
padding: 8px;
}
tr:nth-child(even) {
background-color: #dddddd;
}
</style>
</head>
<body>
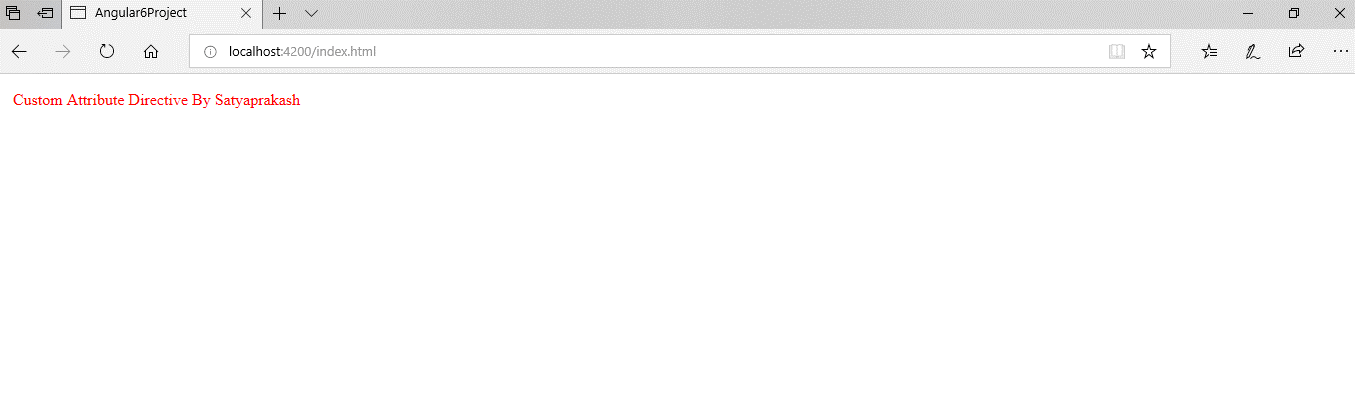
<p ColorRed>Custom Attribute Directive By Satyaprakash</p>
</body>
</html>
we are ready to use our directive in the HTML template. Find the code snippet.
 <body>
 <p ColorRed>Custom Attribute Directive By Satyaprakash</p>
 </body>
 import { BrowserModule } from '@angular/platform-browser';
 import { NgModule } from '@angular/core';

 import { AppComponent } from './app.component';
 import { MyRedDirective } from './directives/red.directive';

 @NgModule({
 declarations: [
 AppComponent,
 MyCustomDirective
 ],
 imports: [
 BrowserModule
 ],
 providers: [],
 bootstrap: [AppComponent]
 })
 export class AppModule { }
Here I import a custom attribute directive reference to configure the custom attribute that I have created.
 import { MyRedDirective } from './directives/red.directive';

 @NgModule({
 declarations: [
 AppComponent,
 MyCustomDirective
 ],
Output
Difference between structural directive and attribute directive
Structural directives are used for adding, removing, and replacing elements in DOM. Whereas attribute directives are used to change the appearance or behavior of an existing element.
Passing Input to Directives
Angular's @Input decorator allows directives to receive data from their parent components. This is how it works.
- Define a @Input property: In your directive's TypeScript code, use the @Input() decorator to indicate which property will receive data. This informs Angular that the property can be bound directly from the template.
- Pass data via property binding: In your component's HTML template, use the property binding syntax ([directiveName]="data") to bind a value from your component to the directive's @Input property.
Read More:
Summary
Once we say that the components are the building blocks of the Angular applications, but eventually, we are saying that the directives are the building blocks of Angular applications that are used to deal with DOM elements. In this article, you learned about the various types of directives in Angular for example. I hope you will find it useful when you will work with your Angular Application.
FAQs
Q1. What are the directives used in Angular elements?
Q2. What is the distinction between directive and decorator in Angular?
Q3. Can we have two directives in Angular?
Q4. What is *ngIf in Angular?
Take our free angular skill challenge to evaluate your skill

In less than 5 minutes, with our skill challenge, you can identify your knowledge gaps and strengths in a given skill.